 08:04
08:04
 Ganesh

For installing Red hat Linux Enterprise Edition 5, Do the following Steps
Step 1: Turn on the system and insert the First CD, then you will get the following Screen.

Step 2: From the above Screen, For installing in Graphical Mode Press Enter. Here i am installing in graphical mode. After Pressing the Enter key you will get the next screen.


Step 3: After Searching the Device drivers and all other things it will display the Media Check Prompt.
If you want to check whether the your Media is working Properly or Not. If you don't want to check the media Click on Skip or else Ok.

Step 4: After the Media Check you will get the following Screen.

Step 5: In the above screen Click the Next, Then you will get the Installation Language Scree will appear.
Select the appropriate Language and Click the Next.

Step 6: Now you will get the Keyboard language, Select the required Keyboard language and click the Next.

Step 7: After clicking the Next you will get the License Key Prompt. If you have the License key enter the key in the below field. If you don't have the license click on Skip.
 Step 8: Now it will give a waring Are you sure want to Skip the License? Again click on the Skip button, then you will get the Hard Disk partitions Screen.

Step 9: In the above screen, it will shows the default settings. i.e It will remove all partitions in system and Creates the default file systems. So now i am going with default Settings only. If you want to make Customize File systems select the Customize File systems from the drop down menu and click on Next.
Here you will the following screen.

Step 10: In the above Screen it will gives a warning message that You have chosen to remove all the partitions. Are you sure you want to do this? Click on yes and you will get the Network Screen.


Step 1: Turn on the system and insert the First CD, then you will get the following Screen.

Step 2: From the above Screen, For installing in Graphical Mode Press Enter. Here i am installing in graphical mode. After Pressing the Enter key you will get the next screen.


Step 3: After Searching the Device drivers and all other things it will display the Media Check Prompt.
If you want to check whether the your Media is working Properly or Not. If you don't want to check the media Click on Skip or else Ok.

Step 4: After the Media Check you will get the following Screen.

Step 5: In the above screen Click the Next, Then you will get the Installation Language Scree will appear.
Select the appropriate Language and Click the Next.

Step 6: Now you will get the Keyboard language, Select the required Keyboard language and click the Next.

Step 7: After clicking the Next you will get the License Key Prompt. If you have the License key enter the key in the below field. If you don't have the license click on Skip.


Step 9: In the above screen, it will shows the default settings. i.e It will remove all partitions in system and Creates the default file systems. So now i am going with default Settings only. If you want to make Customize File systems select the Customize File systems from the drop down menu and click on Next.
Here you will the following screen.
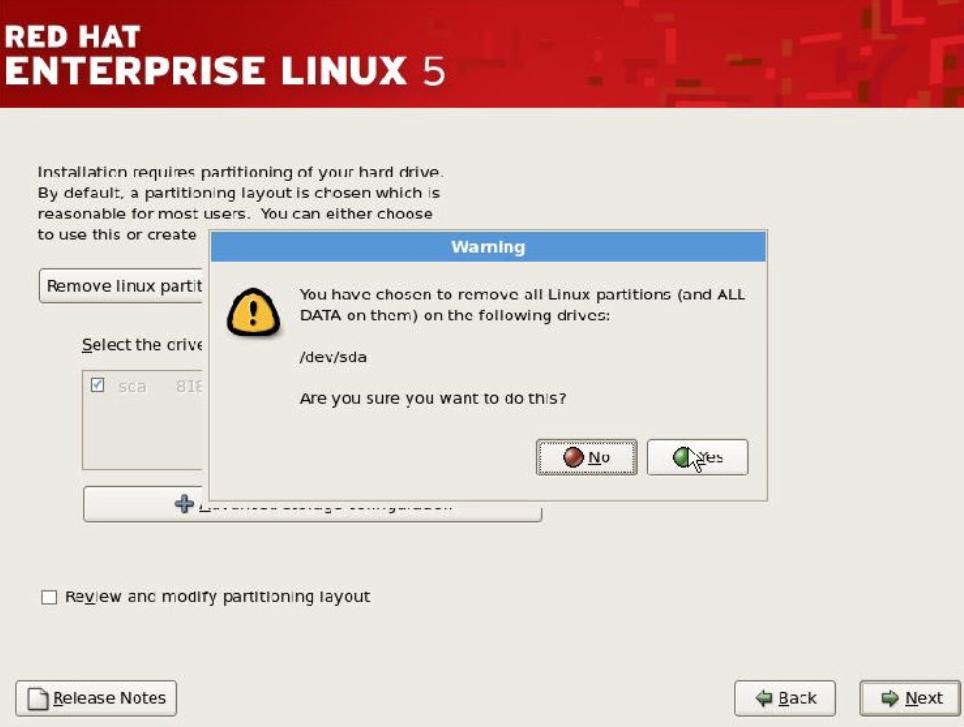
Step 10: In the above Screen it will gives a warning message that You have chosen to remove all the partitions. Are you sure you want to do this? Click on yes and you will get the Network Screen.

Step 11: In the above window i am going with default DHCP. I will configure my network later. So click on Next, then you will get the time zone window.

Step 12: Select the appropriate time zone and Click on Next, then you will get the root Password screen.

Step 13: Enter the root Password and Conform the Password again and click on Next. Now you will get the Package Installer window.

Step 14: From the above window if you want to customize the Packages select the Customize now or else select Customize later and Click on Next.
You will get the following windows.


Step 15: In the above Screen if click on Next the Installation will Begins or else if you want to change anything click on Back.

Step 16: In the above window It will warn you that Keep the 3 CD's or else Click on Reboot. So i am going click on Continue to continue the installation. Now you will get the following Screens.


Step 17: In the above Screen it asking for Insert CD 2. So insert the 2nd CD and Click on OK. It will automatically continue the installation.

Step 18: After installation it will display the following Prompt. i.e Again asking the CD 3. So insert CD 3 and click on OK.

Step 19: After Completing the complete installation. It will display the following screen.

Step 20: In the above screen it shows the remove the media from the CD-Rom and click on Reboot.

Step 21: After the Restarting the system it will display following Screen.

Step 22: In the above screen click on Forward then you will get the License Agreement window. In that accept the License agreement and Click on Forward then you will get following Screen.

Step 23: Keep the firewall enabled and give the exceptions which service you want and click on Forward. Now you will get Date and Time settings. Select the Date and Time, click the Forward.

Step 24: Now you will get the setup for software Updater. Select i prefer to register later and Click on Forward.

Step 25: Now you got the User creation window. So enter the following fields and click on forward.

Step 26: After the user creation you will get the following Screen about sound card in your system and click on forward.

Step 27: After the above screen you will get the final window. i.e Finish wizard. In this wizard if you want install any Packages insert the CD's and install the packages Or else click Finish.

Step 28: Now you are in Login Prompt. So enter the appropriate user you have created or else login by using root user.

So finally you have successfully installed the Red Hat Linux Enterprise Edition 5.
Enjoy the Linux with High Security and Reliability........


